All images and documents are stored under their respective tabs, “Images” and “Documents.” Both tabs function similarly, and the following instructions detail how to add and manage images.
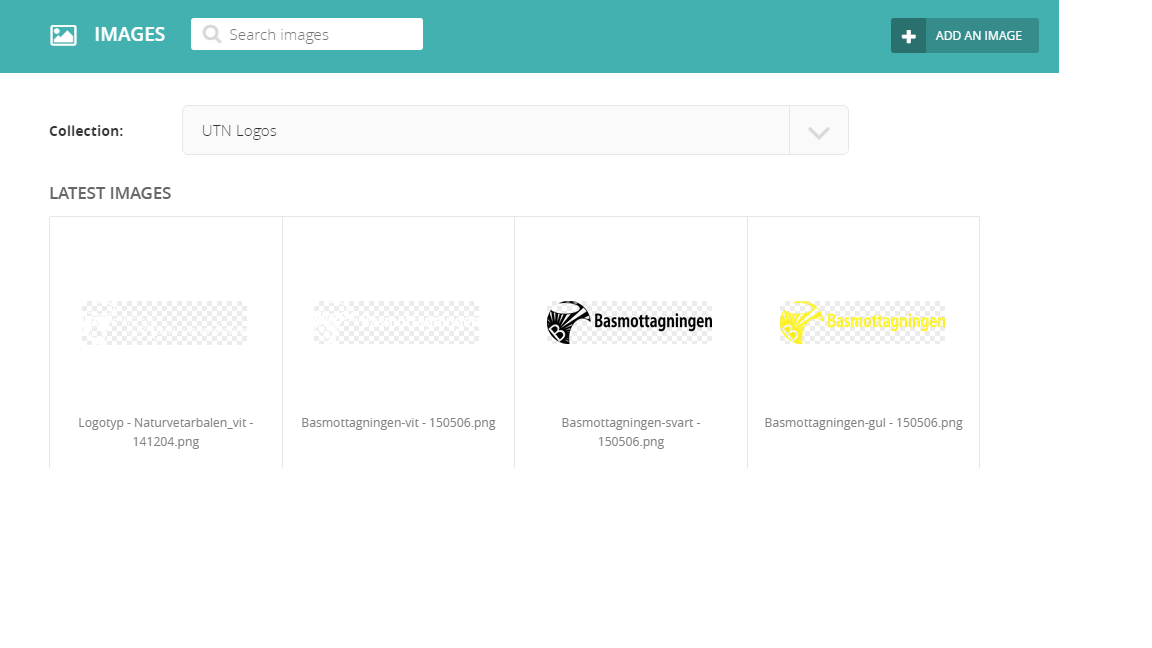
Upon entering the images window, you’ll see a screen akin to the image shown above. This is where you can find all the images stored in the system. Use the search field to locate specific images or filter by different collections. Collections can be managed in the “Settings” tab.
Adding Images #
To upload a new image, click the “ADD AN IMAGE” button. This will take you to the “Add Image” window.
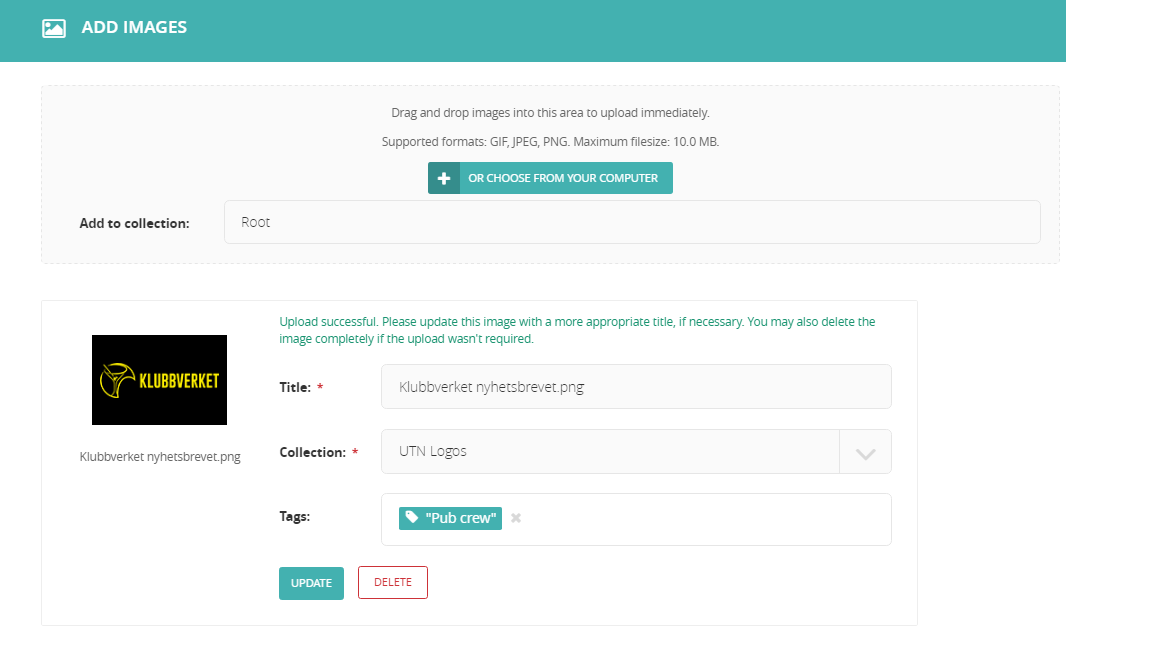
In the “Add Image” window, as shown above, you can upload an image from your computer either by clicking the “OR CHOOSE FROM YOUR COMPUTER” button or by dragging and dropping a file. Once the image is uploaded, it will display alongside a preview. Next to the preview, you have the option to rename the file, select a collection for it, and add tags. It’s important to name the image properly for ease of searching later. Click “Save” to add the image to the system.
Editing Images #
To edit an image after it’s been uploaded, return to the images window and select the image you wish to edit by clicking on it.
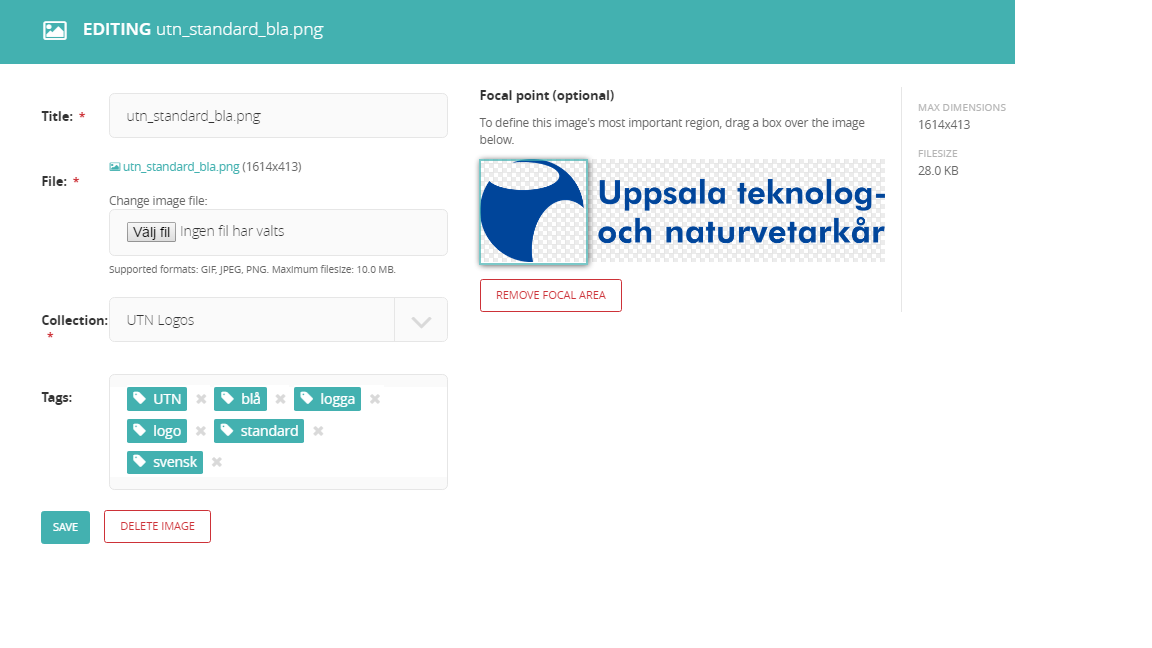
In the “Edit Image” window, similar to the above image, you can:
- View file size and dimensions.
- Change the title.
- Replace the image file.
- Switch collections.
- Edit or add tags.
- Set a focal point.
- Delete the image.
The focal point determines how the image will be scaled in other parts of the system. Position the focal point over the most important area of the image.
Editing Documents #
To edit a document after it’s been added, navigate to the documents window and click on the document you wish to modify. (Note that you cannot edit the content of a document.)
In the “Edit Document” window, you can:
- View file size.
- Change the title.
- Replace the file.
- Switch collections.
- Delete the document.
- Edit or add tags.